Mudroom cabinet extension

The cabinet for the kids’ coats, bags, and other outdoor gear was a short single bed frame tipped on its side. It has been too short for the kids’ jackets, which means they often end up sitting on muddy boots/shoes. Lara and I decided to see if we could make it taller using what we already had sitting around the house or shed.

Then measure (multiple times) and cut our extension pieces.

Test fitting our cut pieces.
For extra stability, we decided to use pegs (Ikea leftovers). Lara drilled the holes for them.
Test fitting.
And then we glued everything together.
Checking the layout of support pieces (all dug from a box of wood scraps). Explanation for the messy sunroom will come in a later post. Note how close the hanging items are to the shoes.
After it’s assembled, Neil pointed out that it was wobbly on the window end and suggested we put in a bracket. Up to this point, we hadn’t bought anything for this project.
This is the tray of reusable hardware where all the screws of the project have come from. In front are all the brackets/hinges we could find. Despite extensive searching, we could not find a flat bracket.
And since I insisted on not spending money at this point, Neil straightened out a right-angle bracket.
You can see the newly attached bracket on the far side. One more coat of trim paint and it was hidden.
I caulked the joints and screw holes with latex and painted over them.
Woohoo! Now the jackets aren’t puddled on the footwear.
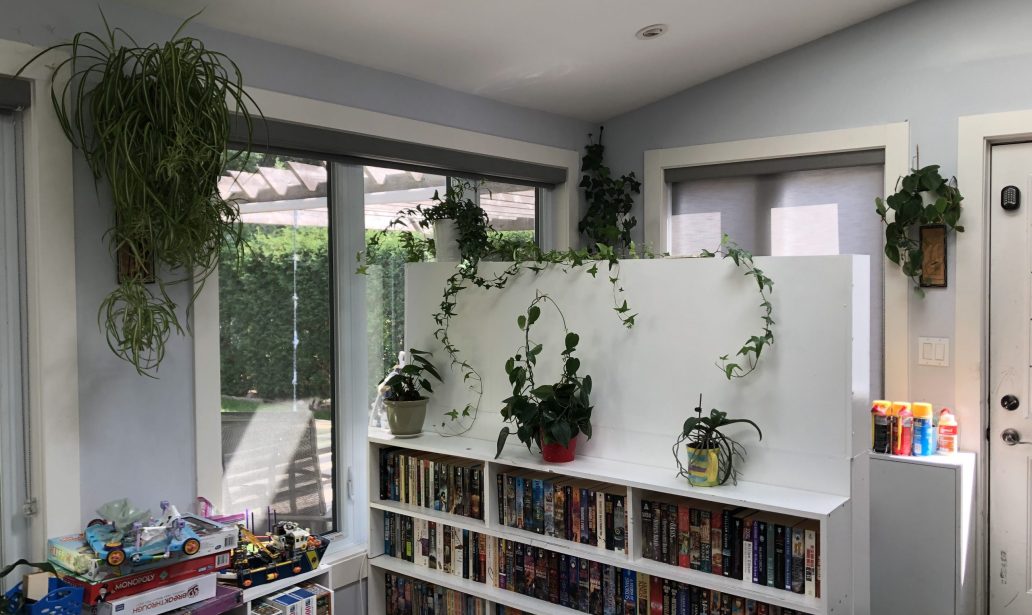
We reused the shelves that used to be in the kids’ room in the knee wall space.
Plants were the final touches.

Total cost: $0
3 thoughts on “Mudroom cabinet extension

Leave a Reply

Your email address will not be published. Required fields are marked *

This site uses Akismet to reduce spam. Learn how your comment data is processed.

WordPress Appliance - Powered by TurnKey Linux